End grain is where a block plane either earns its spot on the shelf or gets buried in a drawer. You cut a leg to length, look at the end, and it is fuzzy. Not cut, fuzzy. The saw did its job and the wood still looks like it was chewed. So you reach for sandpaper, spend ten minutes, and end up with an end that is rounded over instead of square. I did that for years. Picture frames, step stools, the ends of a blanket chest. Sandpaper and hope.
About 18 months ago I bought the JORGENSEN No. 60-1/2 block plane and started learning what the tool actually wants. It weighs 1.5 pounds and cuts a shaving 1.38 inches wide. The body is cast iron, the blade is O1 tool steel, and the depth of cut comes from a knob you turn by hand. That is the whole machine. What changed my results was not the JORGENSEN tool on its own. It was five habits I had to build around it, and I would like to save you the year it took me to find them.
One thing before we start. None of this is complicated and none of it requires a jig, a fixture, or a gadget from a catalog. It is five things you do with your hands and your eyes, in order, every time. Get them in the right order and the plane does the rest.
The plane that got me to put the sandpaper down
Cast iron body, O1 tool steel blade, 1.38 inch cut. No motor, no cord, no noise for the neighbors to hear. Mine has been on the shelf above the bench for 18 months and it still takes a shaving you can see through.
Amazon Check Today's Price on Amazon →Step 1: Support the end grain so the plane has nowhere to dip
A block plane is short. That is the point of it, and it is also the problem. On a long board the sole has enough surface to reference that a small dip does not matter. On the end of a three-quarter inch leg, the whole tool is hanging off the edge. If the work is not backed up, the plane tips forward as it leaves the wood and digs in, and you get a scooped end instead of a flat one.
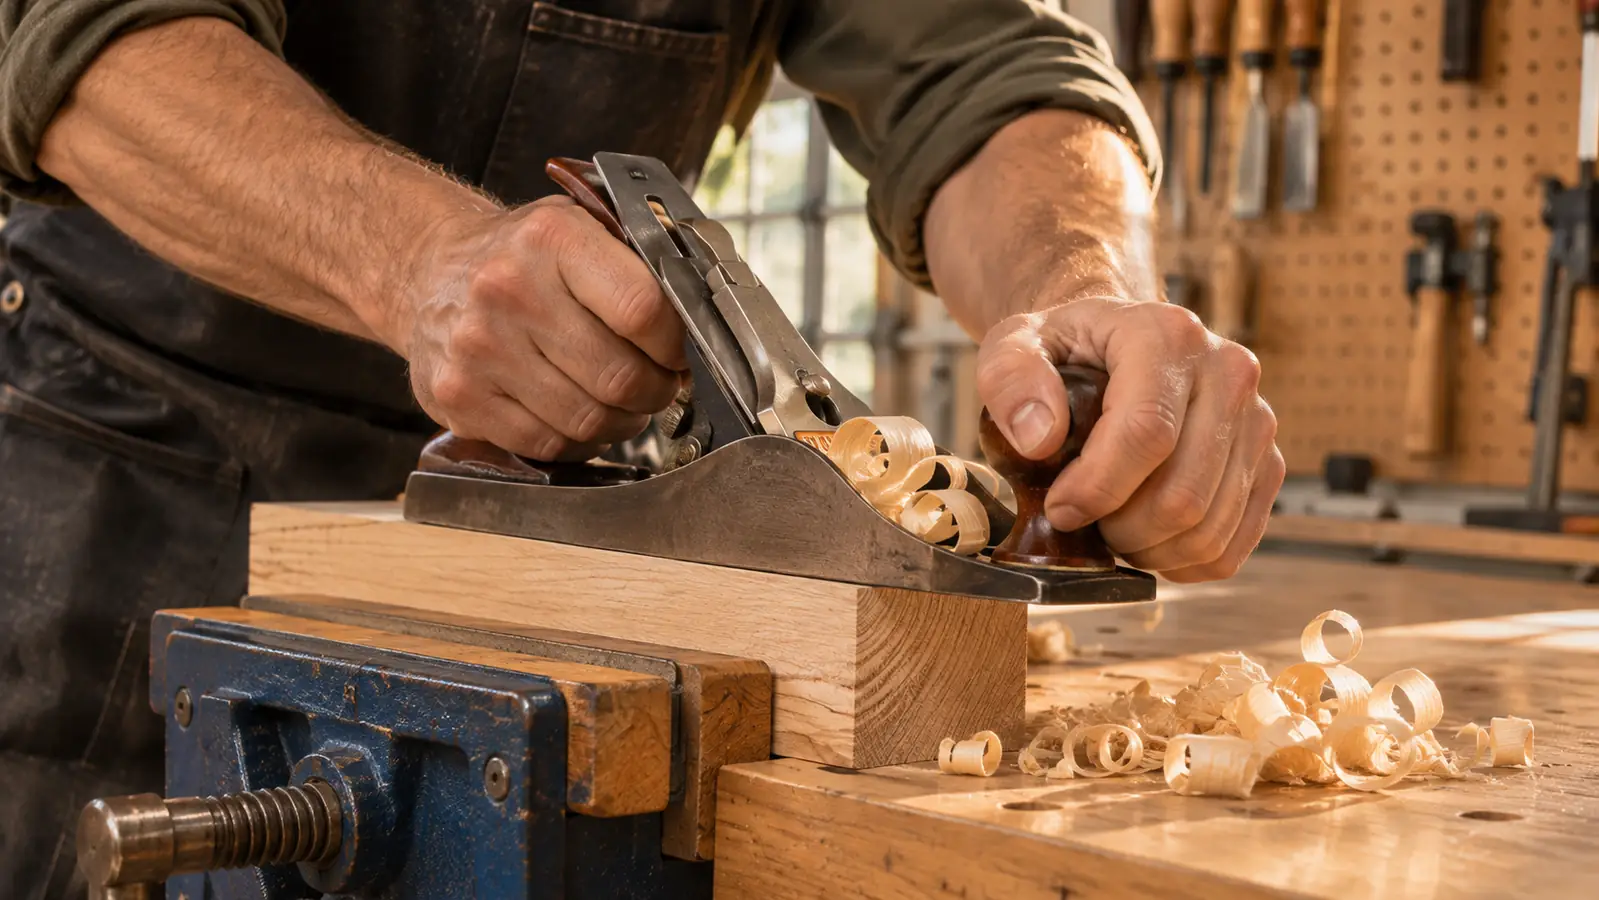
What I do now: clamp the piece in the front vise with the end grain standing proud of the jaws, then lay a scrap of the same thickness behind it, flush with the end I am planing. That scrap does two jobs. It keeps the sole supported past the exit edge, and it takes the blowout that would otherwise come off the far corner of the good piece. On short pieces, like the little poplar blocks I use for picture frame splines, I clamp the workpiece and the backer into the vise together so nothing shifts halfway through a stroke.
You also want the end grain at a comfortable height. My bench is a maple top I built in the garage and it sits slightly high for planing end grain standing up. I keep a small platform, a piece of three-quarter plywood, to raise short work until my arms can push level instead of down. If you are fighting the height you are pushing at an angle, and the plane will follow your arms instead of the wood.

Step 2: Set the cut shallow with the knob and check it on scrap
The depth of cut on the JORGENSEN is set with a knob. Turn it and the blade advances or retracts. That is the only adjustment for depth on the tool, and it is enough once you get the feel. Most people start too deep. A block plane on end grain wants a cut you can barely see. I mean a shaving thin enough to be translucent on pine and thin enough to curl on oak.
Here is how I set it. I back the blade off until it is not touching, lay the plane on a scrap of the same wood, and advance the knob maybe an eighth of a turn. Then I take a pass on the scrap. If the plane slides with no cut, another eighth. If it grabs and stops, I went too far and I back it off. Two or three passes on scrap and I know where I am. That costs thirty seconds. A chipped corner on a picture frame costs the frame.
Retract the blade when you put the tool away. The JORGENSEN sits on the shelf above my bench, lying on its side, and I still back the blade off first. A blade left proud is how you nick an edge on the shelf or on another tool, and a nicked blade means sharpening, not planing.
Step 3: Break the far edge before the blade gets there
End grain tear-out happens at the exit. The blade lifts fibers as it leaves the wood, and on a square corner those fibers take chips with them. You can back the work up, which step one covers. You can also make the exit less of a cliff.
Before a full pass I chamfer the far top edge of the end grain with two or three light strokes at 45 degrees, just enough to knock the corner off. Now when the blade exits, there is no unsupported corner to lift. The fibers have somewhere to go. It sounds fussy. It takes about fifteen seconds and it is the difference between a clean end and one you have to sand anyway.
This is also where the 1.38 inch cutting width of the No. 60-1/2 pulls its weight. On a three-quarter inch board I am taking the full width in one pass, so the chamfer covers the whole edge. On something wider, like a blanket chest rail, I am working in overlapping lanes and I chamfer the exit edge across the full width first.
Step 4: Skew the plane and take one continuous stroke
Do not push the plane straight down the end grain. Hold it at a slight angle, maybe fifteen or twenty degrees off square, and push through in one steady stroke. Skewing the tool presents the blade at a shearing angle to the fibers instead of a straight chop. The cut gets easier and the surface comes up cleaner.
One continuous stroke, not a series of short pushes. Starting and stopping in the middle of the end grain leaves a step you will chase for the rest of the job. Get your body behind it. I stand with my left foot forward, elbows close to my ribs, and push from the shoulder rather than the wrist. At 1.5 pounds with a cast iron base, the plane has enough mass that once it is moving it wants to keep moving. Let it.
The polished flat bottom on the JORGENSEN matters here more than you would think. A sole with a burr or a hollow will rock, and on a short pass a rock shows up as a dip. I wipe the sole on a rag with a little paste wax before a run of end grain work so it slides instead of skating. Check the sole against a flat surface once in a while. Cast iron is stable, but check it anyway, because a rock you cannot feel with your hands will show up in the wood.
Step 5: Read the shaving and adjust before you keep going
The shaving tells you what happened. A thin, even, curly shaving across the full width means the blade is set right and the sole is sitting flat. A shaving that is thick on one side and thin on the other means the blade is not sitting square, or you are rocking the tool. A shaving that comes out as dust means you are too shallow and you are rubbing rather than cutting.
Chatter is a different signal. If the plane bounces and skips, either the blade is dull, the cut is too deep, or the work is not supported. I check in that order, because dull is usually the answer. O1 tool steel holds an edge well on end grain, but end grain is abrasive work and it dulls a blade faster than edge planing pine ever will. On a run of picture frames I touch up the blade between pieces. That is not a fault of the JORGENSEN. Every plane I have ever used gets dull on end grain. The wood is essentially a bundle of straws full of grit and it wears an edge down.
And when the end grain comes up glassy and reflective, stop. That is the finish. Do not sand it. Sanding a properly planed end makes it worse, because sandpaper rounds the edge and pushes fibers back into the surface. The plane leaves a cut edge. Sandpaper leaves a smeared one, and once the finish goes on you can see the difference from across the room.
Two or three passes on scrap and I know exactly where the blade is. That costs thirty seconds. A chipped corner on a picture frame costs the frame.
What Else Helps
A block plane does not fix a bad saw cut. It reveals it. If your cut is out of square by a sixteenth, the plane will show you in the first two passes and you will chase square for ten minutes. So check the cut with a combination square before you ever pick up the plane. Mine is a 12 inch Irwin that hangs on the pegboard by the bench, and it gets handled more than the plane does.
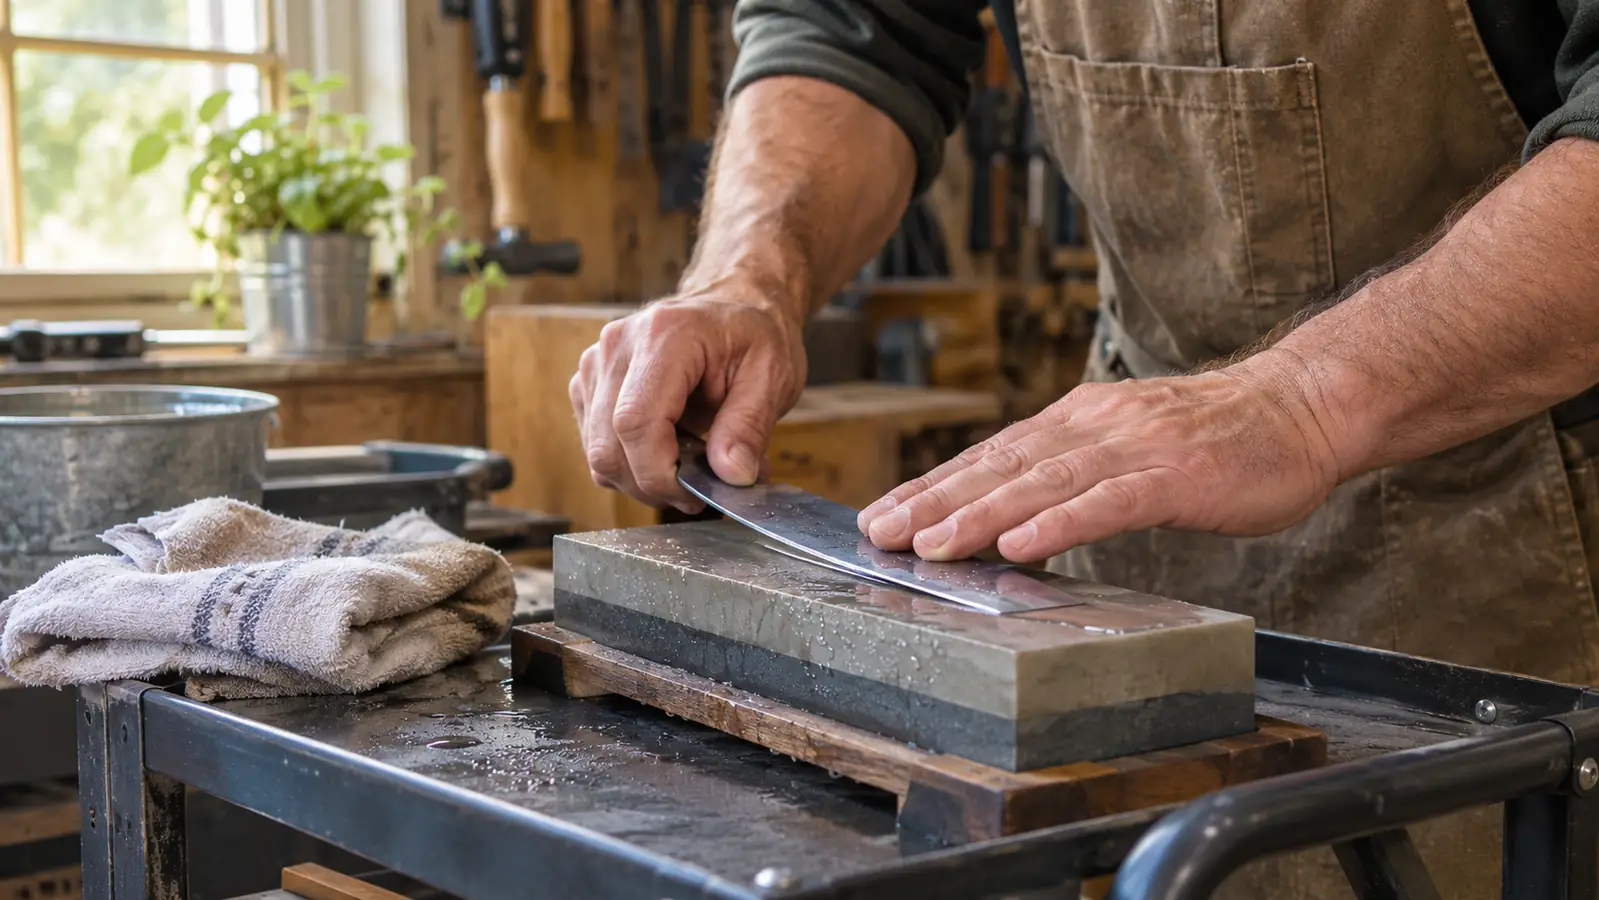
A diamond stone is the other half of this. The SHARPAL I bought the same month as my chisels lives on the rolling cart and sees the block plane blade regularly. Coarse side for a chip or a reshaped bevel, fine side to finish. I use it with water. A dull blade on end grain is the biggest single cause of tear-out that gets blamed on the tool.
And practice on scrap. Poplar is cheap and it planes honestly. Pine is soft and will flatter you. Oak will tell you the truth about your edge. When I was learning the skew and the shallow cut, I ran a dozen poplar offcuts through the whole routine before I touched a frame. Ruin scrap on purpose for twenty minutes and you will not ruin a project.
Honest limits, since I have lived with this plane for a year and a half. It is a small tool doing a small job. It will not flatten a glued-up tabletop, and it is not meant to. The knob adjustment is fine but it is not as quick to reset as a plane with a lever, so if you are constantly changing depth between end grain and edge work you will feel it. The JORGENSEN No. 60-1/2 also wants a sharp blade before it will do anything worth doing, and it does not come with a honing guide, so budget for a stone if you do not already own one. The tool is not the whole answer. The five habits are most of it.
If you take nothing else from this, take the order. Support the exit, set the cut shallow, break the far corner, skew the stroke, then read the shaving and go again. Every bad end I have ever planed came from skipping one of those five, usually the shallow part, because impatience is cheaper than thinking.
If your end grain still comes up fuzzy, check the blade before you blame the wood
A cast iron sole that sits flat, an O1 blade that takes a fine edge, and a knob you turn by hand. That is all this JORGENSEN tool is. Set it shallow, support the exit, skew the stroke, and it will give you an end you never have to sand.
Amazon See the JORGENSEN Block Plane on Amazon →