
A dull chisel does not announce itself. It just starts crushing wood instead of slicing it, and pretty soon your dovetail gaps are wide enough to slide a business card through. Most of us blame our technique. We buy another chisel, or we watch a video and try holding the thing differently, and nothing changes, because the edge was never the problem in the first place.
I sharpen on a SHARPAL 162N double-sided diamond stone, and I have for about two years now, the same stretch of time I have been using the HURRICANE chisel set that replaced my old mismatched hardware-store tools. The stone sits on a rolling cart beside the six-foot maple-top bench in my garage. Nothing about it is fussy. You wet it, you rub steel on it, you wipe it off. That is the whole ritual, and that is exactly why it actually gets used instead of sitting in a drawer getting admired.
A stone that cuts fast enough that you will actually use it
The coarse 325 grit side does the heavy work in a couple of minutes. The extra fine 1200 grit side finishes the job. Two sides, one plate, no soaking and no oil.
Amazon Check Today's Price on Amazon →Step 1: Set the Stone Up So It Cannot Move
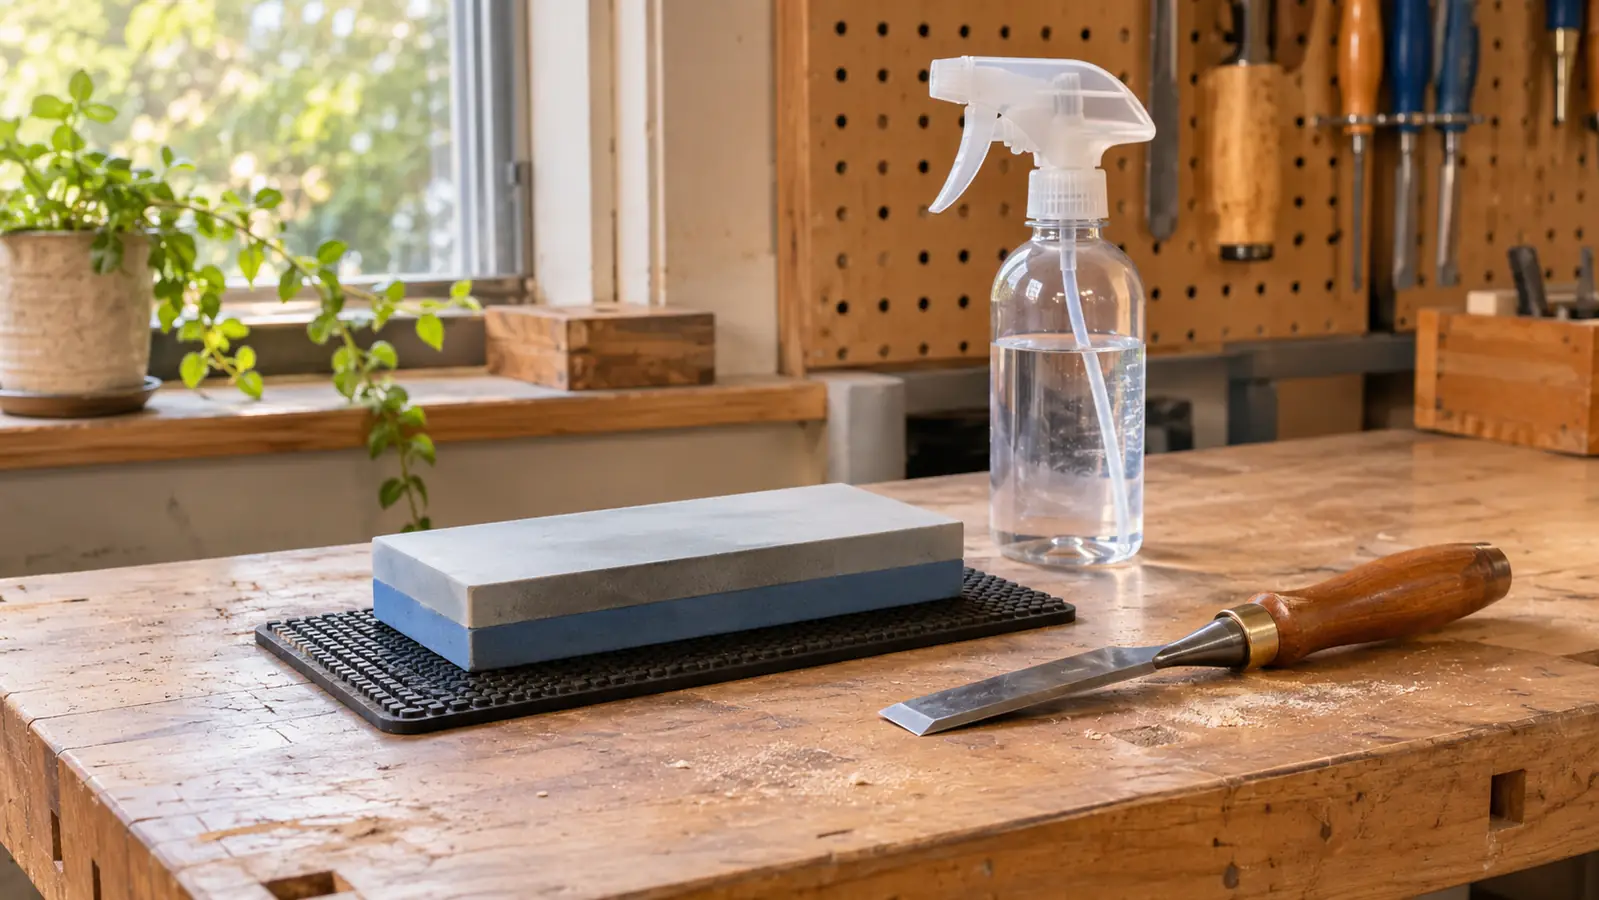
The stone comes in a storage box with a non-slip rubber pad, and that pad is meant to be used as the base while you sharpen, not tossed back in the box and forgotten. Set the stone on the pad on a surface that will not rock or walk. I work on the top of my rolling sharpening cart, mainly because it puts the stone at a height where my shoulders stay relaxed and my elbows are not locked. A stone that slides or tips mid-stroke will wreck your angle faster than anything else you can do wrong, and you will spend the next week blaming your hands for it.
Wet the surface before the first stroke. I keep a spray bottle of plain water on the cart and give the plate four or five pumps. Diamond does not soak up water the way a waterstone does, so there is no twenty minute bath and no bucket sitting on the bench all afternoon. You want a wet film across the plate, and you want to add another pump whenever it starts to look dry and the steel begins to drag instead of glide. That drag is your signal, and it comes on quickly once you are paying attention to it.
Then check your reach before you touch a tool. Stand at the cart, rest both hands on the stone, and run a dry stroke in the air. If you have to lean forward or your elbows are pinned to your ribs, the stone is too low or too far away. Move it. Two minutes spent on setup is cheaper than a bevel you have to grind back into shape, and I say that as a man who learned it the expensive way more than once.
Step 2: Flatten the Back Before You Touch the Bevel
Start with the back of the chisel, on the coarse side, and do not skip this because you are in a hurry to see some progress. The back has to be flat for roughly the first inch behind the edge. If it is not, the bevel you work later meets a curved surface and you end up with an edge that looks sharp under the light and will not bite. Most new chisels are close to flat. Most used chisels I have picked up secondhand are nowhere near it, and that is why they were for sale.
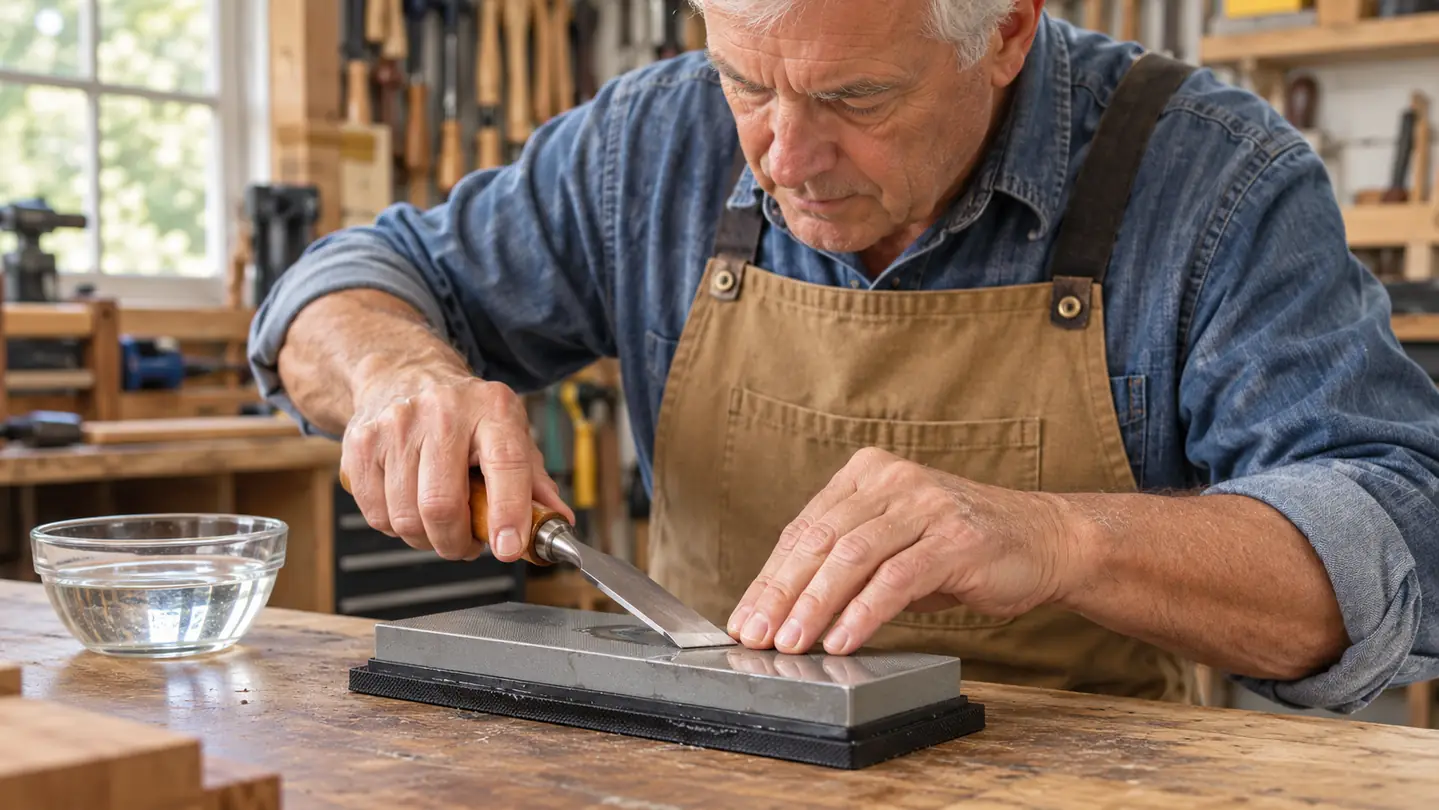
Lay the back flat on the SHARPAL's coarse side and push it away from you, then pull it back, keeping the full width in contact with the plate. The coarse side is 45 micron, and it cuts quicker than the sandpaper glued to a glass plate trick I used for years. Check the scratch pattern every dozen strokes. When the scratches cross the full width evenly and reach the edge, the back is done. Round over nothing, and do not keep going because it feels productive. Stop while it is still flat.
This is where the coarse side earns its keep. Fixing a chipped edge or a back that has never been flattened used to take me half an hour of rubbing on paper. Now it is a few minutes of honest work, and the plate does not go slick and useless after twenty strokes the way paper does. The 8.46 inch length gives you room to use the whole surface instead of grinding one patch down in the middle, which is a habit worth building early.
Step 3: Raise a Burr on the Coarse Side, Then Stop
Flip the chisel over and find your angle. For a standard bench chisel I want roughly 25 degrees, which is close to what most of them come with and the angle I can hold by feel after this many years at it. Rest the bevel flat on the plate, raise the handle until you feel the whole bevel in contact, then lock your wrists and move from the shoulders. Rocking at the wrist on every stroke is what rounds a bevel over a season of sharpening, and it is the hardest habit to break once it sets in.
Work the bevel on the coarse side until you feel a burr along the flat back, all the way across the width. Run a fingertip across the back, not along it, and you will feel a tiny ridge catch your skin. That burr is the proof that the two planes have finally met at the edge. No burr means you are not down to the edge yet, or you are holding the chisel at a slightly different angle on every pass, which is the more common reason.
Keep the strokes even, side to side, and use the full length of the stone. If you scrub away in one small patch, nothing dishes, because diamond does not dish, but you do wear that patch and you teach your hands a short choppy stroke they will keep long after you stop thinking about it. Long strokes, light hands, and let the plate do the cutting. It is faster than you expect and it does not need your muscle.
Step 4: Hone on the Extra Fine Side With Almost No Pressure
Lift the stone, flip it, and set it back down on the pad. The extra fine side is 1200 grit, 12 micron, and its job is not to remove metal in a hurry. Its job is to turn that burr into a clean edge. Ten to fifteen passes on the bevel, then lay the back flat and give it the same number. Alternate them. Bevel, back, bevel, back, and count if you have to, because the number matters less than the even split between the two sides.
Pressure here should be light enough that you could still feel what the edge is doing through your fingers. Press hard on the fine side and you just roll the burr back and forth, wearing out your arms and never getting rid of it. I count passes out loud in the garage. The neighbors have gotten used to it, and Carol says it is at least quieter than the table saw.
On the last few passes, ease off even more than you think you need to. What you are chasing is a burr that gets smaller with each stroke and finally lets go entirely. When the back feels smooth to a fingertip and the bevel reflects light in an even band with no dull strip along the edge, you have arrived. If there is a dull strip, you have not reached the edge yet. Go back and do it again rather than talking yourself into it.
Step 5: Wipe It Down and Test the Edge on Scrap, Not on Your Project
Wipe the stone down with a rag and dry it. The diamonds are electroplated onto a stainless steel base of 0.35 inch, so you are not fighting rust the way you would with a plain carbon steel plate, but leaving water and steel grit sitting on the surface is still a poor habit to build. A quick wipe, a shake of the rag outside the door, and the stone goes back in its box on the cart.
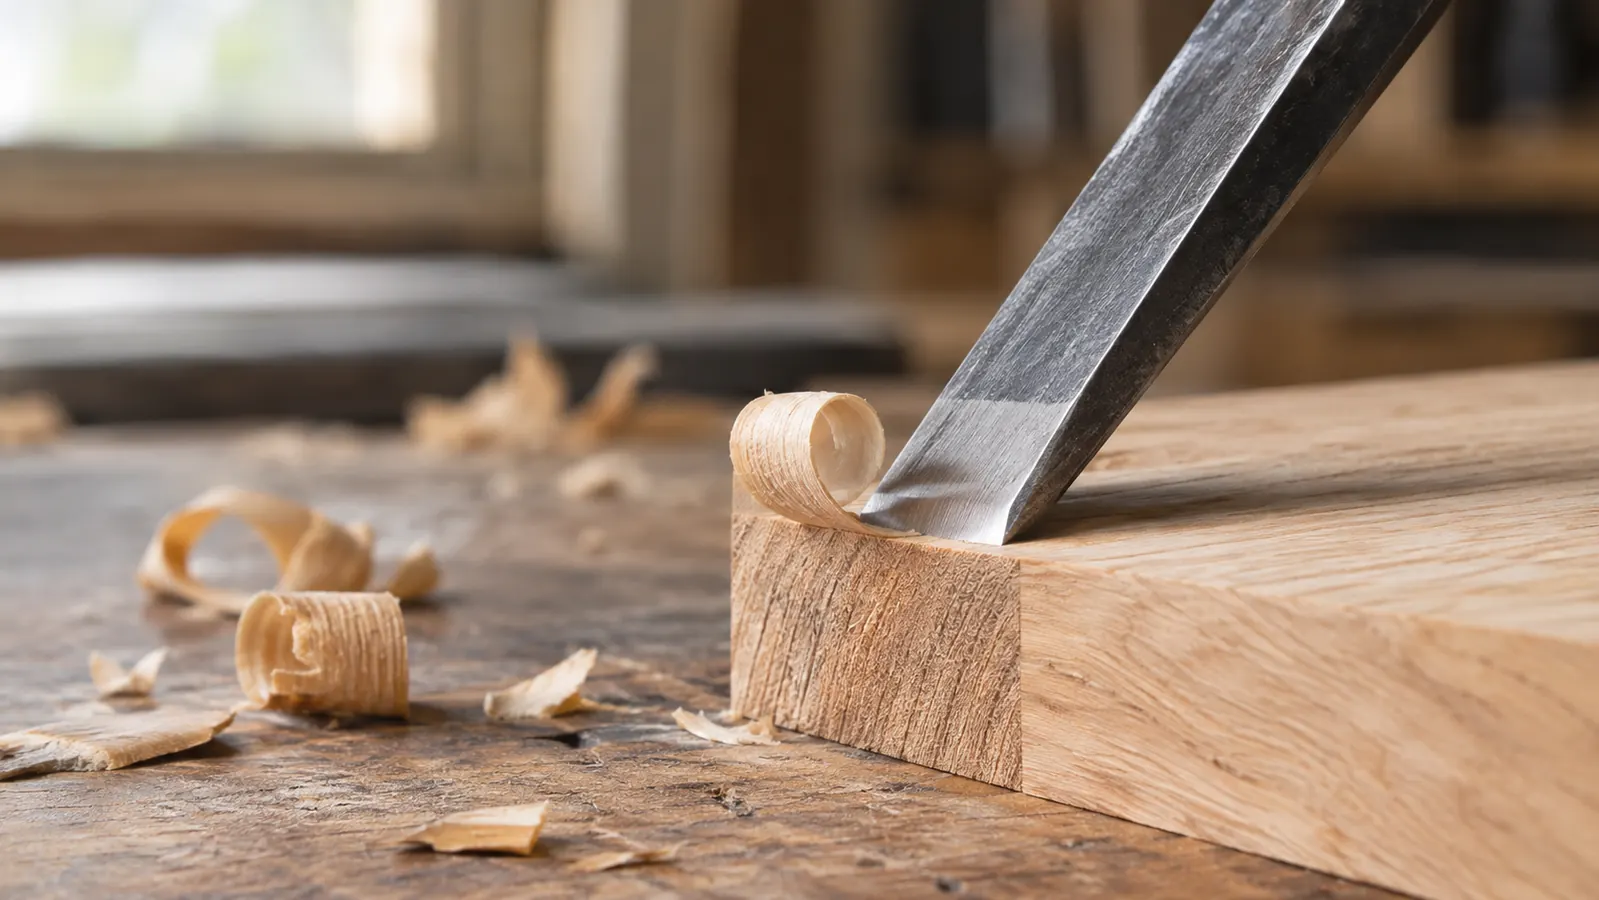
Then test the edge on scrap wood, never on the project you are in the middle of. I keep a cutoff of poplar by the cart for exactly this. Pare the end grain. A sharp chisel takes a shaving you could read a headline through. A chisel that is close but not quite there will skate across the surface and tear the fibres instead of cutting them. If it tears, back to the fine side for another six passes and test again on a fresh spot.
The whole routine, from wetting the stone to putting it away, runs me about six minutes for a chisel that only needed a touch up. That is the entire reason my edges stay in decent shape now. A short job gets done on a Tuesday evening. A long job gets postponed until the tool is genuinely unusable and the repair takes an hour. Six minutes beats an hour every week of the year.
What Else Helps
The same SHARPAL stone handles plane irons with no change in method. My JORGENSEN low-angle block plane comes apart with two turns of a screw, and the iron gets the back flattened first, then the bevel on the coarse side if it has picked up a nick, then a dozen passes on the fine side. A block plane with a genuinely sharp iron chamfers an edge in three strokes and leaves a surface that needs no sanding at all. That is not a small thing when you are fitting a drawer front.
Check that your edge is square to the sides of the chisel before you call it finished. I hang an IRWIN 12 inch combination square on the pegboard within arm's reach and hold the blade against the chisel edge to look for daylight. A skew of a degree or two is invisible until you are paring a hinge mortise and the chisel wanders sideways out of the line you marked. Checking takes ten seconds and saves you a joint.
Practice on a chisel you do not love. I keep one old hardware-store chisel in the drawer for testing angles and scraping glue, and I learned more from ruining that one than from any tool I paid real money for. Learning on a good chisel means every mistake costs you steel you cannot put back. Learning on a beater means you find out what 25 degrees feels like in your hands without any consequence at all.
Twelve passes on the fine side, and the chisel went back to taking shavings off end grain instead of dust.
An edge you can feel, in about six minutes a chisel
No soaking, no oil, no glass plate and sandpaper. Wet the plate, work both sides, wipe it down, and get back to building the thing you actually wanted to build.
Amazon Check Today's Price on Amazon →