For the first two years I owned a combination square, I used it about as often as I used the little brush that came with my table saw. It hung on the pegboard next to the pull saw, and every so often I would take it down, hold it against a board, nod at it, and put it back. Then I would go cut the board wrong anyway.
The tool was not the problem. I was. A combination square does not mark a joint for you. It gives you a reference you can trust, and then it is on you to hold the pencil the same way twice, to check the head instead of assuming it, and to stop trusting your eye on a line that a machined edge could settle in two seconds. I have had the IRWIN 12 inch metal-body square on that pegboard for about four years now. Here is what I actually had to learn before it started earning its keep, and what I would tell anybody setting up a first bench.
The square I reach for before every cut, not after
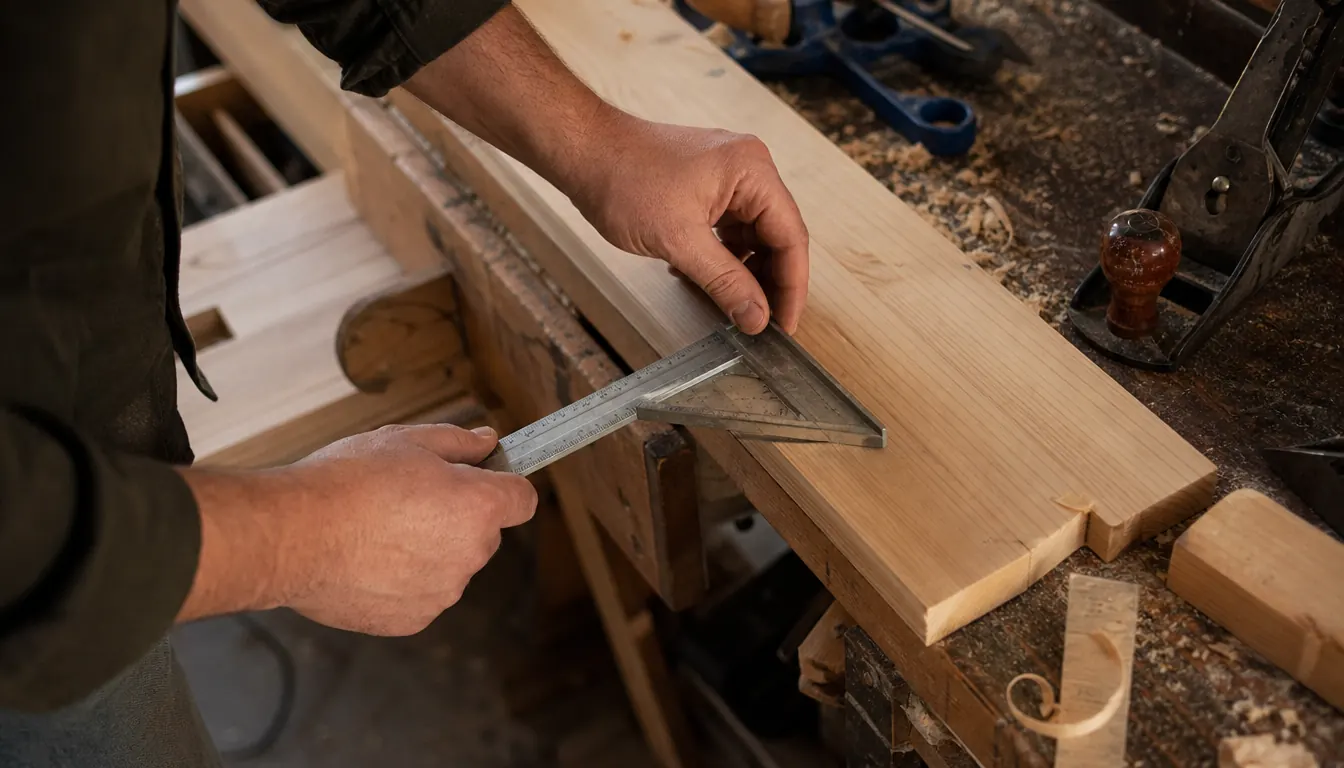
A stainless blade, a cast head, and 1/16 inch graduations. Mine has hung on the pegboard for four years and still checks square against my bench edge.
Amazon Check Today's Price on Amazon →Step 1: Check the square before you trust the square
A combination square is two pieces: a head and a blade, joined by a screw and a slot. That joint is the whole tool. If the head is not sitting flat and true, everything you mark off it is off by the same amount, and you will not find out until a glue-up goes sideways and you are standing there with four clamps and a gap you could post a letter through.
So the first thing I do, and the first thing I would tell you to do, is check it. Put the head against the straight factory edge of a board, or against the front rail of your bench if you trust that. Hold a pencil tight against the end of the blade and strike a line. Now flip the square over so the head is against the same edge but the blade is pointing the other way, and strike a second line in the same place. If the two lines land on top of each other, the square is good. If you get a gap between them, the error is real and it is doubled, and no amount of careful marking will save you.
My IRWIN passed that check out of the box and still passes it four years on, which is part of why I have not replaced it. The blade is stainless and the scales are etched into the metal rather than printed on it, so the 1/16 inch graduations have not worn off after being dragged across a few hundred boards. When a square fails that flip test, it goes in the bin or it becomes a paint-stirring tool. There is no fix worth the trouble.
Step 2: Set the head and lock it, every time
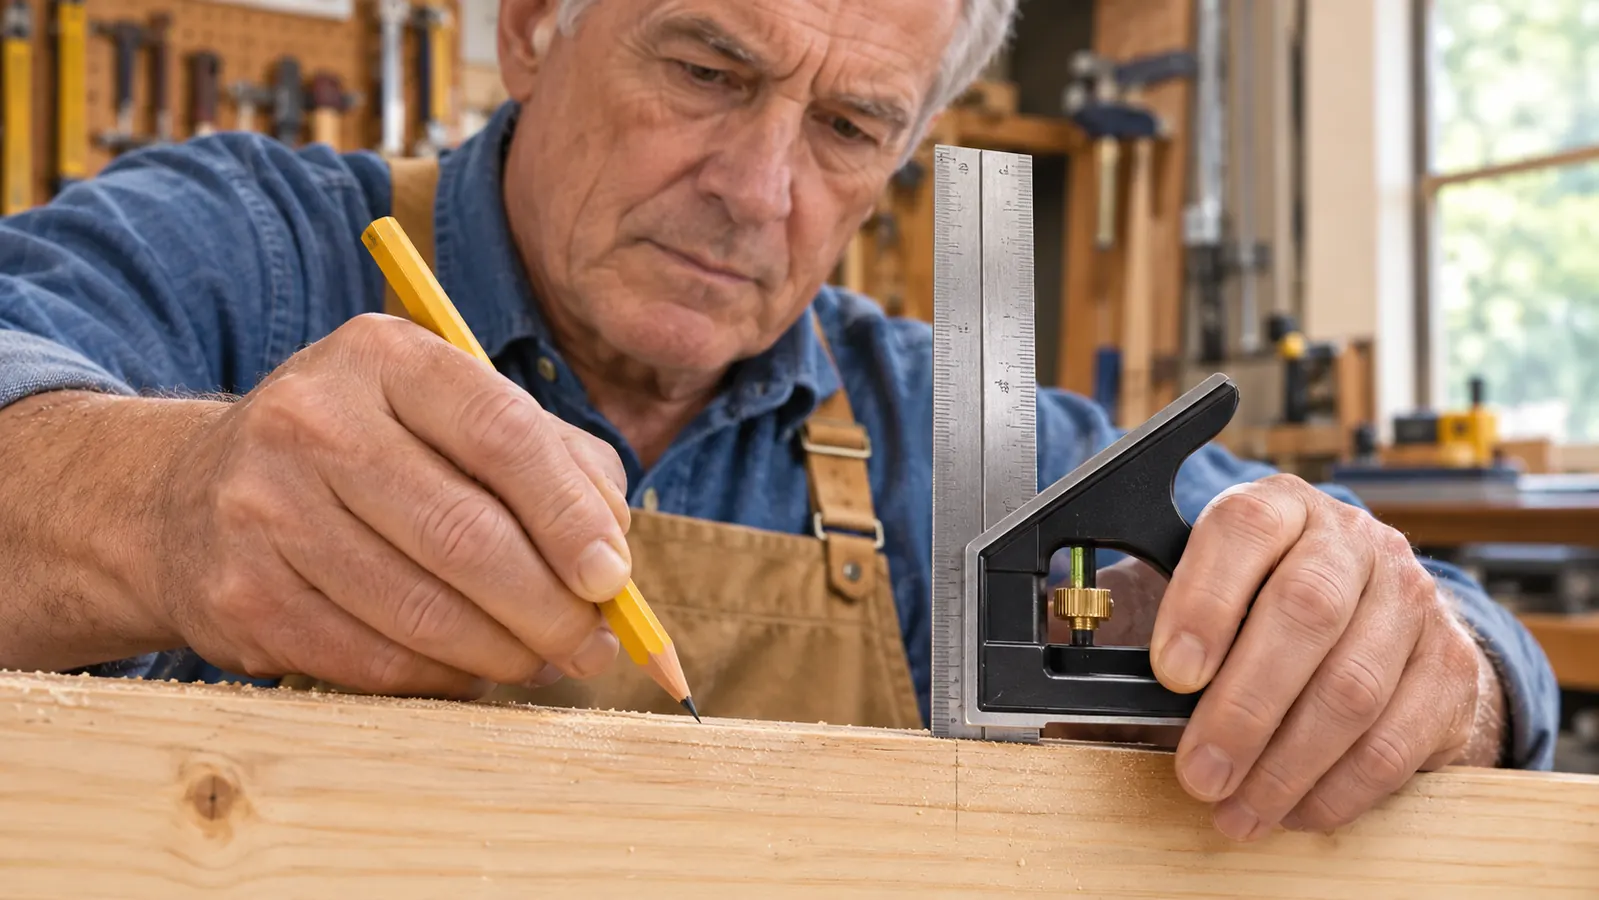
Here is the mistake I made for years. I would slide the head to where I wanted it, eyeball it, and start marking. The screw on a combination square is not decorative. It is the difference between a square and a very expensive ruler. If it is loose, the head drifts while you are pressing the blade against the work, and the line you strike is three degrees off from the line you intended.
The fix is simple and it is a habit, not a technique. Slide the head to the position you want, snug the screw down, then set the whole assembly on the board and check that the blade is seated flat along its full length before the pencil touches anything. On the IRWIN the knurled screw pulls up tight with maybe a quarter turn and stays put, which matters more than I expected. A square that slips mid-line is worse than no square at all, because you will trust the line.
For 90 degree work, the head bears on the edge of the board and the blade runs across the face. For 45 degree work, you rotate the head so the angled face of the stock sits against the edge, and the blade gives you a miter line. That 45 degree face is one of the reasons I stopped reaching for a speed square on furniture. On a board narrower than the square's 12 inch blade, the combination square gives you a full-length line instead of a mark you have to extend by eye.
Step 3: Register off a face you actually prepared
This is the one that humbled me. For years I marked joints off whatever edge looked straightest and then wondered why my assemblies came out racked. A square does not create a straight edge. It transfers one. If you register the head against a bowed board edge, you will get a perfectly square line to a bowed reference, which means nothing.
So before the square comes out, I joint one face and one edge. On my bench that is a hand plane and a straightedge check, and it takes about four minutes on a board that was already close. Every mark after that comes off that one prepared face. I pencil a small mark on it so I do not lose track of which edge is the good one halfway through a cut list.
The combination square is also useful here as a gauge rather than a square. Because the head slides and locks, you can set it to a specific distance and use it to transfer that measurement from one board to the next. On a set of picture frame parts, I set the head once at the width of the rabbet and marked all four pieces off the same setting instead of measuring each one. Four marks off one setting beat four measurements every time.
A square does not create a straight edge. It transfers one. Register it against a bowed board and you get a perfectly square line to a bowed reference, which means nothing.
Step 4: Mark with a knife or a sharp pencil, not a lumber crayon
A line has width. That sounds like a philosophy lecture, but it is the whole game on a joint that has to fit. If your pencil line is a sixteenth wide and you cut to one side of it, you have spent a sixteenth of error before the saw even starts. Do that on four sides of a box and you have a quarter inch of slop that no clamp will close.
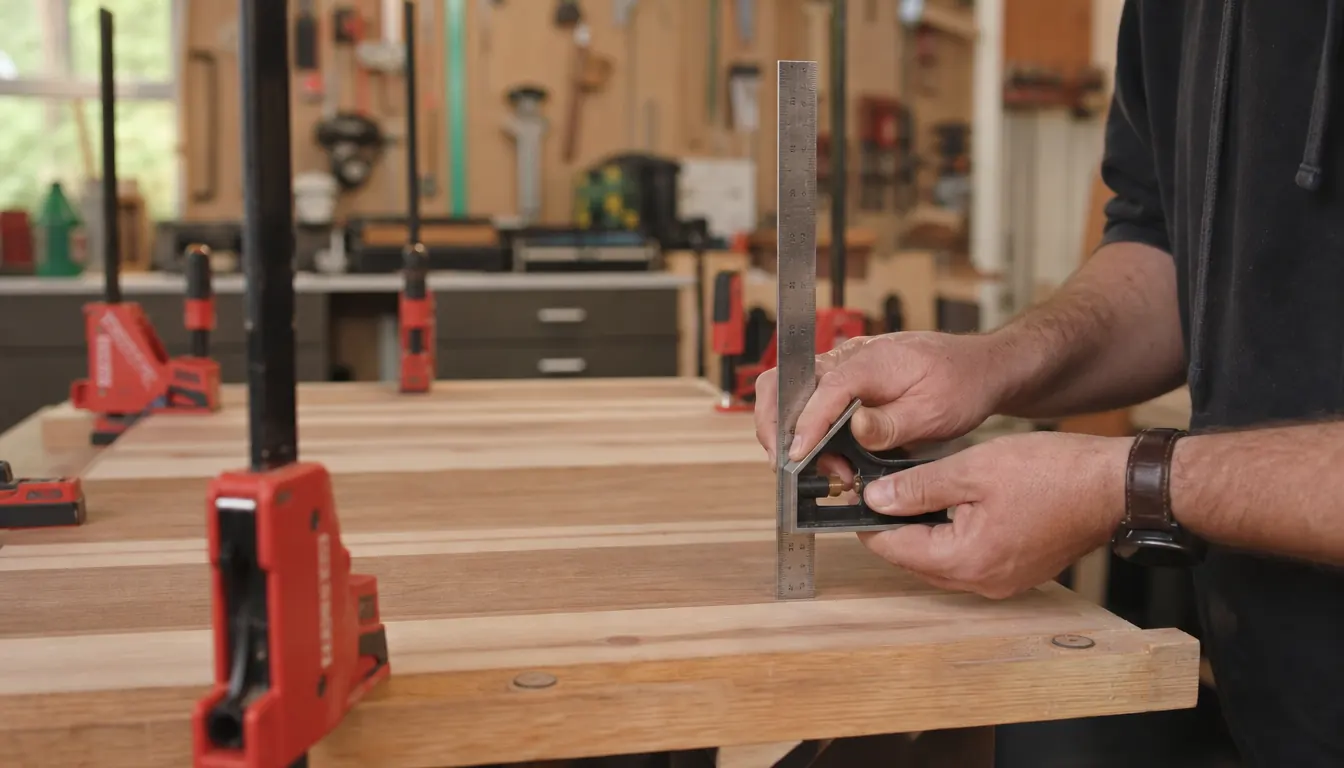
What I do now is mark a knife line for anything that matters and save the pencil for rough work. Hold the blade of the square flat against the face, press the knife point into the corner where the blade meets the board, and pull the square along the edge so the point rides the blade. You get a line you can drop a saw tooth into. The stainless blade on the IRWIN is what makes this work: a knife riding a soft aluminum or plastic edge will eventually cut a groove in it, and a grooved square is a square that lies to you.
When I do use a pencil, I sharpen it to a chisel point on a piece of sandpaper and I keep the point tight against the blade. Same principle. The line should be as thin as the tool allows, and the square is the reason it can be.
Step 5: Check the joint after the cut, not after the glue
This is where the square earns its keep in my shop more than anywhere else. I do not just mark with it. I check with it, and I check early, while a shaving or two will still fix the problem.
After cutting a shoulder, I lay the square's blade across the face and drop the head against the shoulder. A sliver of daylight under the blade tells me the shoulder is not flat. When I dry-fit a box, I check the diagonals with a tape and then check the corners with the square, and the square is the one that tells me which corner is out rather than just that the box is out. When I glue up a panel, I set the square across the ends before the clamps come tight, because a panel will rack in the clamps and it will stay racked if I let it.
The 12 inch blade is the right length for the furniture I build. It spans a picture frame corner and it reaches across a step stool seat. For a blanket chest I would want a longer straightedge for the diagonal check, but the square still does the corner work. The tradeoff of a 12 inch blade is that it is short enough to fit in a drawer and long enough to be useful, which is most of what I want from a marking tool.
What I'd Skip, and What Else Helps
The thing I would skip is buying a cheap combination square and hoping. I went through two before this one, both of them with printed scales and a head that would not stay put. One of them was off by enough that I could see it against my bench edge. The other lost its graduations in the first year. Four years of the IRWIN, at 14.4 ounces with a cast head that has not loosened, has cost me less than replacing a bargain square every eighteen months.
Two other things help more than people expect. First, a fine mechanical pencil or a marking knife with a flat back, because the square can only give you a line as good as the thing drawing it. Second, a hard pencil and a small sanding block kept next to the bench, so you actually sharpen instead of pressing harder with a dull point.
The cons are honest ones. This is a metal-body square at 14.4 ounces, so it is heavier in the hand than a plastic one and it will not float around a toolbox the way a small speed square does. The 12 inch blade is also not a substitute for a framing square on large work. And the black etched scales, while they have held up, are not the easiest to read in low light, so I keep a small task light over the bench. None of that has made me want a different square.
For a hobby woodworker with one bench and a handful of hand tools, I would put a combination square ahead of almost anything else on the list. Before the block plane, before the second saw. It is the cheapest way to stop guessing, and guessing is what makes joints come out loose. If you want the longer version of this story, I wrote a fuller review of the same square, and there is a comparison against the cheap speed square I used to reach for out of habit.
Stop marking off a bowed edge and hoping
The IRWIN 12 inch combination square gives you a 90 degree and 45 degree reference you can check, lock, and trust. Mine has been on the pegboard four years.
Amazon Check Today's Price on Amazon →