The first handsaw most of us own cuts on the push stroke, and a push stroke does something you cannot see until you are halfway through a board. It bows the blade. You aim at a line, you push, the plate flexes under your hand, and the kerf drifts a sixteenth to the left of where you meant it. Then you flip the board and try to meet yourself from the other side, which is a polite way of saying you fix it later with a plane and some sandpaper.
A Japanese pull saw reverses the direction of the load. The blade is pulled through the wood, so the plate stays in tension and runs straight instead of folding away from the line. I bought the SUIZAN 9.5 inch ryoba about three years ago for cutting tenons and dovetails, and it is the tool that taught me how much of my old crooked work was the saw and how much was me. The SUIZAN is light, 0.2 kg for the whole tool, with a 0.5 mm blade that opens a 0.8 mm kerf. Thin blade, straight cut, very little cleanup.
The saw that starts the cut where you aimed it
Double edge ryoba with 9 TPI rip teeth on one side and 15 TPI crosscut teeth on the other, so one plate handles tenon cheeks and shoulders. A 0.5 mm blade leaves a 0.8 mm kerf, and the blade is held by a single screw so it can be replaced when the teeth wear.
Amazon Check Today's Price on Amazon →What Changes When the Saw Pulls
Three things change at once, and they stack on each other. The first is tension. A pull stroke keeps the plate straight the way a string stays straight when you pull both ends, so a blade that would feel too floppy in a Western saw is perfectly usable here. The second is the kerf. A 0.8 mm kerf removes a fraction of what a Western panel saw takes out, which means less drag, less heat, and a cut that needs a couple of passes with a plane before glue instead of ten minutes with sandpaper. The third is control at the start. Because the teeth bite on the pull, you can set the blade on a pencil line with no downward pressure at all and draw it back before it has a chance to wander.
None of that makes the saw foolproof. I have cut past a line with this saw plenty of times, usually because I was hurrying or because the teeth had dulled and I compensated by leaning on it. The difference is that a bad cut with a pull saw shows up early, in the first two inches, while you still have enough wood to fix it. A bad cut with a push saw shows up after the tenon is finished and you are checking it against the mortise.

Five Steps to a Cut That Lands on the Line
The order below is the order I actually work in, and it is the order I wish somebody had handed me about twenty-five years ago. Steps one and two are where most of the accuracy comes from. Steps three through five are where most of the ruined cuts come from, which tells you something about how people spend their attention.
Step 1: Mark the line, then give the saw a shoulder to sit in
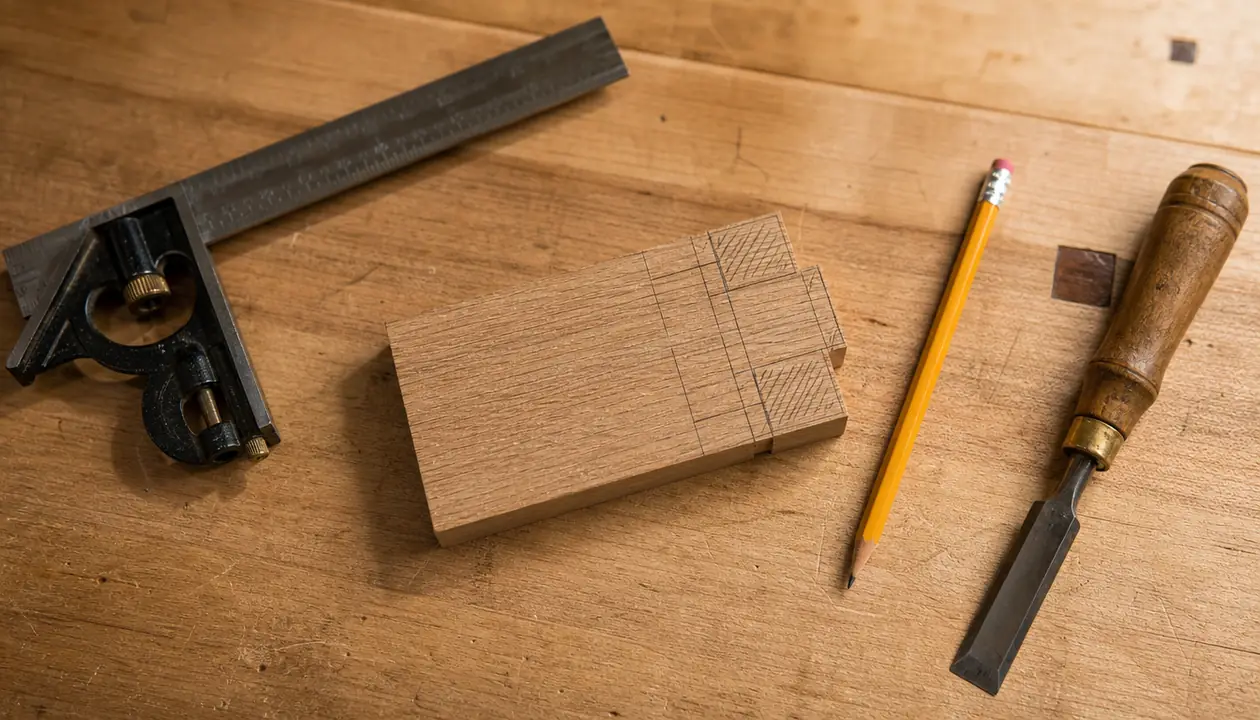
A pencil line is a suggestion. The saw follows the surface it sits on and the corner it rides against far more than it follows graphite. So before the saw comes off the pegboard, I mark the line with the Irwin 12 inch combination square, then make a light pass with a paring chisel from the HURRICANE set to score the shoulder. Two strokes, barely a shaving. That score gives the teeth a groove to drop into and the first pull starts where I aimed it instead of a thirty-second to the side.
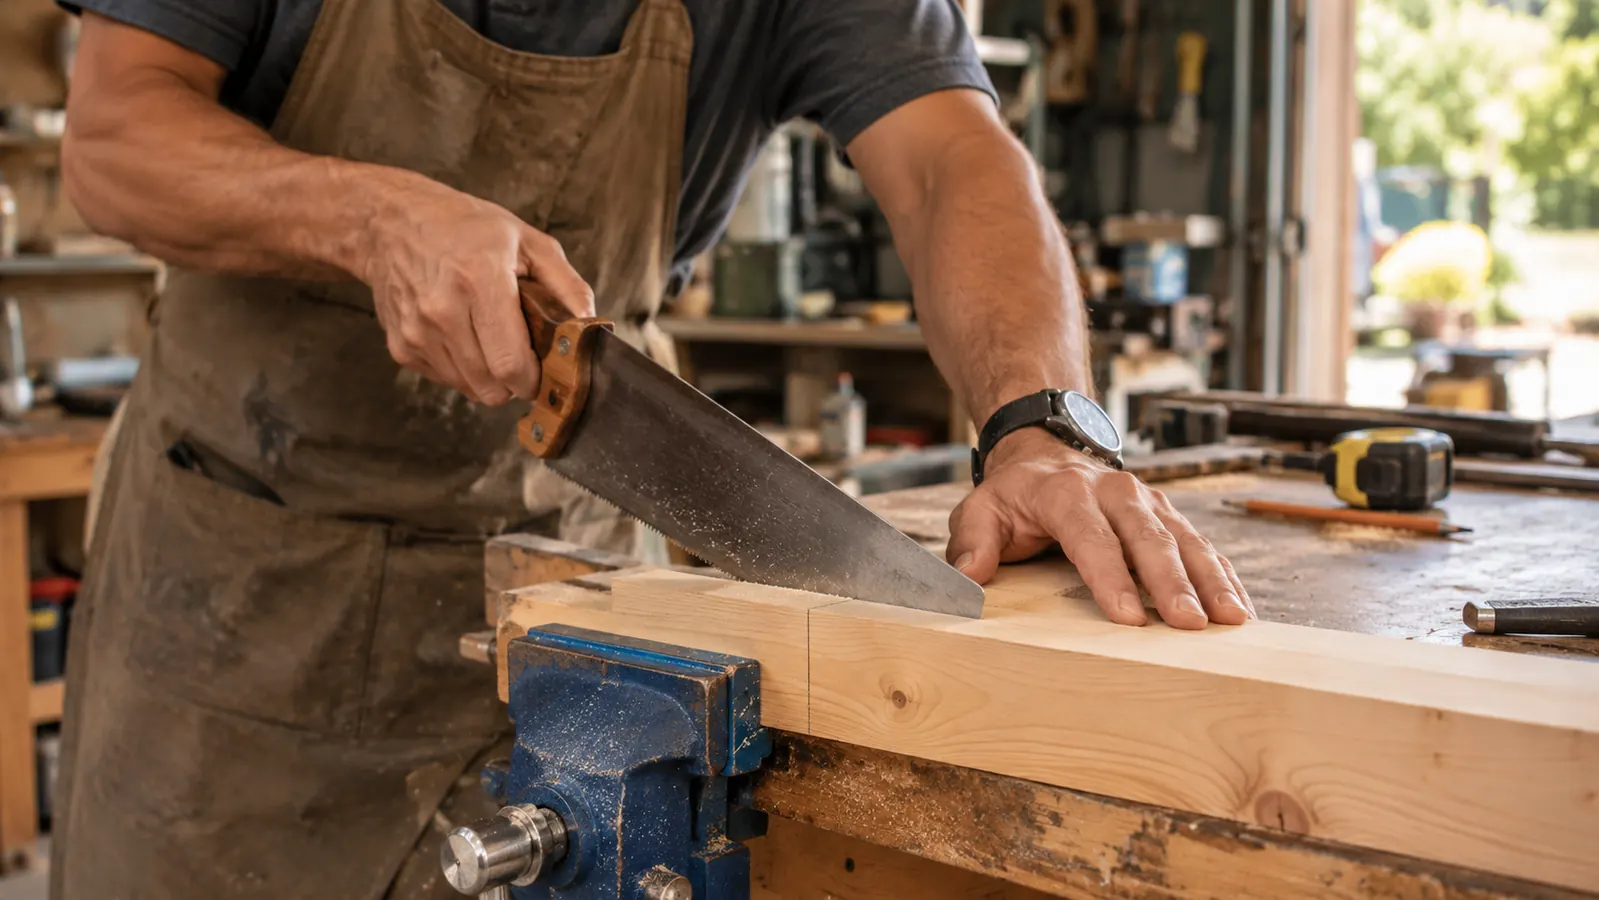
Clamp the board so the waste overhangs the bench and the cut line sits close to the vise or the clamp. If the board is cantilevered a foot out into the air it will sag, the kerf will close on the blade halfway through, and then you will push, and then you will own a bent saw. Two inches of overhang is plenty. On a tenon I mark all four faces and carry the line around with the square, because I will be reading the line on two of those faces at the same time and I want them saying the same thing.
Step 2: Start on the pull stroke with your thumb as a fence
Set the blade on the line with the teeth just kissing the wood and lay your thumbnail flat against the side of the plate. Not gripping it. Just touching it, the way you hold a ruler steady for somebody else. Draw the saw back toward you with almost no downward pressure. The first three or four strokes should be short, maybe an inch and a half, and they should make almost no sound. What you are doing is establishing a kerf, and that kerf is the only thing the rest of the cut will follow.
The angle matters less than people make it out to be, but it is not nothing. The listing gives a 9 degree cutting angle on the teeth, and I hold the saw so the plate sits low against the board, maybe fifteen to twenty degrees above the surface. Stand the saw up near vertical and you are using the tips of the teeth like a scraper, and the cut gets slow and hot and the line wanders. Flatten it out and the teeth take a proper bite.
Step 3: Pick the edge that matches the grain
This is the part that confuses people coming from Western saws, because a ryoba has teeth on both edges of the same plate and they are not interchangeable. One edge is crosscut at 15 teeth per inch, for cutting across the grain. The other is rip at 9 teeth per inch, for cutting along it. The crosscut teeth are filed to slice fibers and leave a clean shoulder. The rip teeth are filed to chisel out the waste between fibers and clear it quickly, which is what you want when you are sawing down the cheek of a tenon.
You can tell them apart in the shop without counting. The rip edge has bigger, blockier teeth with more space between them. The crosscut edge looks like a fine row of small triangles. Get it backwards and the saw still cuts, it just cuts slowly and leaves a rougher face, and you will blame the tool. I did for about a month. Cutting a tenon cheek with the crosscut side is the woodworking equivalent of opening a can with the handle of a screwdriver. It works. It is not the tool for the job.
Step 4: Steer with the plate, not with your wrist
Long, level strokes, and keep your elbow loose. Your wrist should not be twisting to correct the line, because twisting the handle bends the plate and a bent plate cuts a curved kerf. If the saw starts to drift, stop, lift it out, and set it back down in the existing kerf with the plate lined up properly. Two seconds of resetting beats ten seconds of forcing, every single time.
Check your square more often than feels necessary. I keep the Irwin combination square on the bench and check the cut face every few strokes on a deep tenon, because the saw follows the line on the face you are looking at and ignores the line on the face you are not. If the two lines disagree, stop and correct it now, while there is still enough wood left to correct it with.
Step 5: Finish the cut without blowing out the far side
The last inch is where most clean cuts get ruined. There is very little wood left for the teeth to push against, so they grab and tear instead of slicing. Slow down, and shorten your strokes again the way you started. If the far edge is unsupported, put a scrap of sacrificial pine under the board, or turn it around and come in from the other face to meet the kerf you already started. With a 0.8 mm kerf, meeting yourself in the middle is easy, because there is almost nothing to remove when the two cuts arrive.
One more use while the saw is already in your hand. To flush trim a dowel or a plug, lay the blade flat on the surface with the teeth just clearing the workpiece and draw it back. The plate flexes almost nothing at that angle and the thin kerf leaves a mark you sand out in three strokes. I do it on cutting boards where a plug sits proud, and it is one of the few jobs where this saw beats a chisel outright.
The kerf is 0.8 mm wide. That is the whole reason a tenon cheek comes off in one pass instead of three.
What Else Helps
A bench hook, or a pair of clamps and a scrap backer, for the same reason as step one. A bench hook gives you a corner to push against so the board does not slide while you pull, which is a specific problem with pull saws and a specific reason some people dismiss them after one afternoon. If your workpiece moves on every stroke, clamp it. Past that, the combination square and a sharp pencil do most of the heavy lifting, and a light scoring pass with a chisel does the rest.
On maintenance, this is not a saw you sharpen. The blade is held by one screw. When the teeth dull, you loosen that screw, slide the old blade out, and fit a SUIZAN 9.5 inch replacement blade, which is sold separately. That suits a person like me, because I would rather buy a blade than learn to file a 15 TPI crosscut pattern by hand. It also means the tool you keep is the same tool, just with fresh teeth. Keep the blade guard on it while it hangs on the pegboard. Those teeth will catch a knuckle when you reach past in a hurry, and they do not care that you were the one who bought them.
Where the cleanup happens, I reach for the block plane and a chisel next. The JORGENSEN low-angle plane takes a shaving off a tenon cheek and squares it up in a way sandpaper cannot, and a paring chisel cleans the shoulder line and the corners. Sandpaper is the last resort, not the first, because it rounds over the very edge that makes a joint look tight. A cut that lands on the line means you barely need any of this, which is the point of the whole exercise.
Where It Falls Short
The listed warranty is 30 days, which is short for something meant to last a decade. That is a comment about the paperwork rather than the steel, but a buyer should know it up front. The thin plate is the same feature that makes it cut straight and the same thing that will kink if you lever the saw sideways out of a deep kerf. Pull it straight out. The single blade screw needs a check now and again, because a loose screw lets the plate shift, and then you have a saw that cuts at an angle no matter how well you steer it.
It is not a table saw. For four feet of thick oak I still walk over to the contractor saw, because a hand saw of any kind is the wrong tool for that job and pretending otherwise wastes an afternoon. The blade guard is also fiddly to get back on, and the whole tool measures 23.2 inches end to end, so it wants a clear stretch of bench when you lay it down. Against all that: it hangs by the bench within arm's reach, it makes cuts my power tools cannot make quietly at seven in the morning, and the neighbors on both sides have never once complained.
Start with the cut you have been putting off
9.5 inch double edge plate, 9 TPI rip on one side and 15 TPI crosscut on the other, 0.5 mm blade, 0.8 mm kerf. Replacement blades sold separately, so dull teeth cost you a blade and not a saw.
Amazon Check Today's Price on Amazon →