
The first chisel set I owned came out of a hardware store discount bin and had two handles wrapped in electrical tape. I used it for years. When a dovetail came out gappy, I blamed my sawing. When a hinge mortise came out ragged, I blamed the pine. It took me an embarrassing stretch of time to admit the obvious: a dull chisel with a back that is not flat will ruin a joint no matter how carefully you lay it out. No clamp, no jig and no video fixes that.
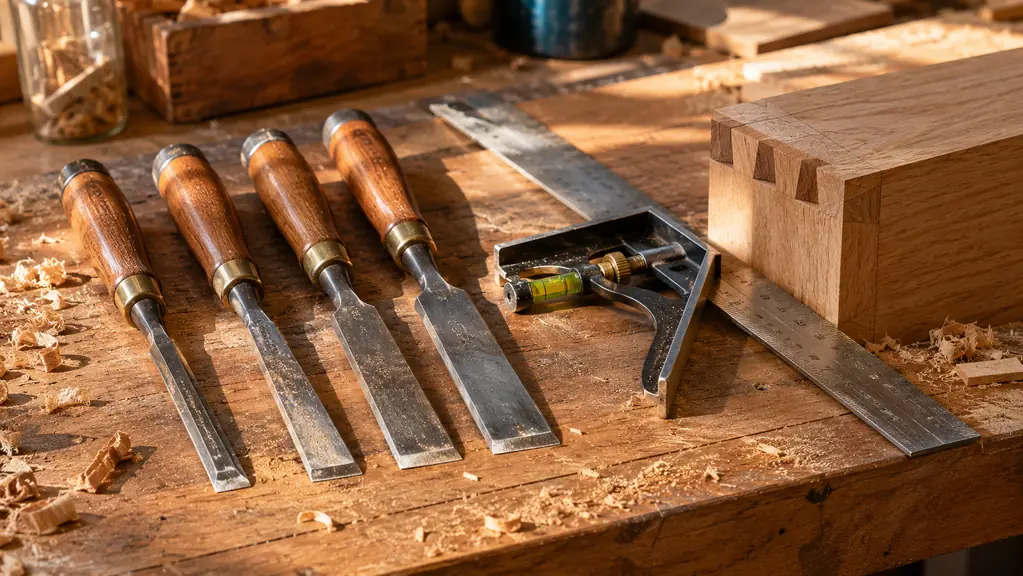
I bought the HURRICANE 4-piece chisel set about two years ago to replace that mess, and I want to be straight about what changed. The set did not turn me into a cabinetmaker. What it did was stop fighting me. The blades are drop forged CR-V steel with heat-treated edges, the set covers the four widths I actually reach for, and the backs arrive close enough to flat that a few minutes each on the coarse side of a diamond stone gets them where they need to be. HURRICANE also ships blade guards and a case with the set, which sounds like a small thing until a loose chisel rolls out of a drawer and finds your thumb.
Four chisels, one repeatable bevel, joints that close with thumb pressure
The HURRICANE set covers quarter inch through one inch with drop forged CR-V blades and a 25 degree bevel. Safety caps and a fitted case keep the edges intact between projects.
Amazon Check Today's Price on Amazon →Step 1: Flatten the back before you touch the bevel
Every chisel has a back, and the back has to be dead flat for roughly the first inch behind the edge. If it is not flat, the chisel will never register cleanly against a joint wall. You will chase the knife line, take a little more, take a little more, and end up with a socket that is loose on one side and tight on the other. New chisels are close to flat. They are rarely perfect, and the ones that are not perfect are the ones that drive people away from hand tools.
I use the coarse side of the SHARPAL 162N diamond stone, wet with water and no oil, and work the back in a figure eight with light finger pressure. The figure eight keeps the wear even and stops me from rocking the blade. I check every dozen or so strokes by holding the back against a straightedge and looking for daylight. Across all four chisels the first session took me about forty minutes. That is the least enjoyable part of this whole process, and it is also the part that decides whether the next four steps work at all.
One caution. Do not skip the smallest chisel because it feels less important. The quarter inch is the one that cleans out the tight corners of a dovetail, and a quarter inch back that is not flat will chatter and dig no matter how careful your hands are. If you only flatten one blade, you picked the wrong one.
Step 2: Hone a 25 degree bevel and keep it there
The HURRICANE blades come with a 25 degree bevel, and that is a sensible general purpose angle. It will handle the soft wood, the hard wood and the laminated plywood I use for shop fixtures. My advice is to keep it. Changing angles every time you sharpen is how a person ends up with a rounded, convex edge that skates across the surface instead of biting into it, and then blames the steel.
Fine side of the stone, water, maybe twenty passes, then lift the blade and look at the edge under a bright light. When the bevel is right you see a thin, even line of light across the full width of the edge and nothing glinting at the corners. Those bright corners are dull spots. Two or three more passes on the stone, and they go away. This is the whole skill. Everything else about sharpening is scheduling.
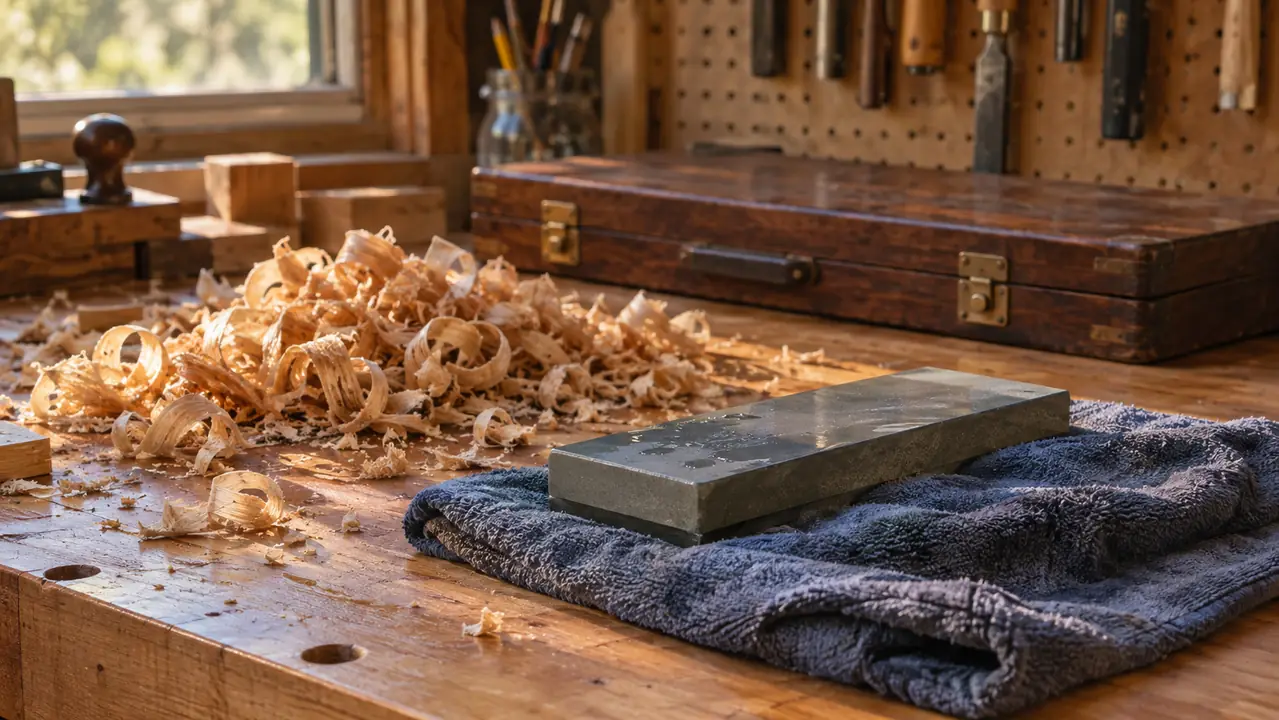
I keep the stone, the towel and a small bottle on the rolling sharpening cart so the routine takes two minutes instead of twenty. That matters more than the stone itself. If touching up an edge is a production, you will put it off, and a dull chisel is the most common reason a joint comes out loose. I have proven that to myself more times than I would like to admit.
Step 3: Lay out the joint so the chisel has a wall to follow
Most of the paring problems I see on my own bench are layout problems wearing a chisel costume. The knife line is what the blade registers against. A heavy pencil line will not do it, because a pencil line has width and a knife line has a wall.
I use the IRWIN 12 inch combination square for the square lines across the face and down the end grain, the SUIZAN ryoba for the saw cuts, and a marking knife for the shoulder. I saw deliberately proud of the line. That leaves a sliver of waste for the chisel to pare, and a sliver is far easier to control than a full shoulder. When I get greedy and saw right to the line, I have nothing left to correct, and the joint either fits or it does not.
Check the joint dry before you pick up a chisel. Push the pieces together by hand. If they will not go together in a dry fit, paring will not save them, it will only make the gap wider in one spot. Walk away and fix the layout.
A chisel with a flat back and an honest 25 degree bevel will close a dovetail with thumb pressure. Most ragged joints are not a technique problem. They are an edge problem.
Step 4: Pare in stages with the back registered on the work
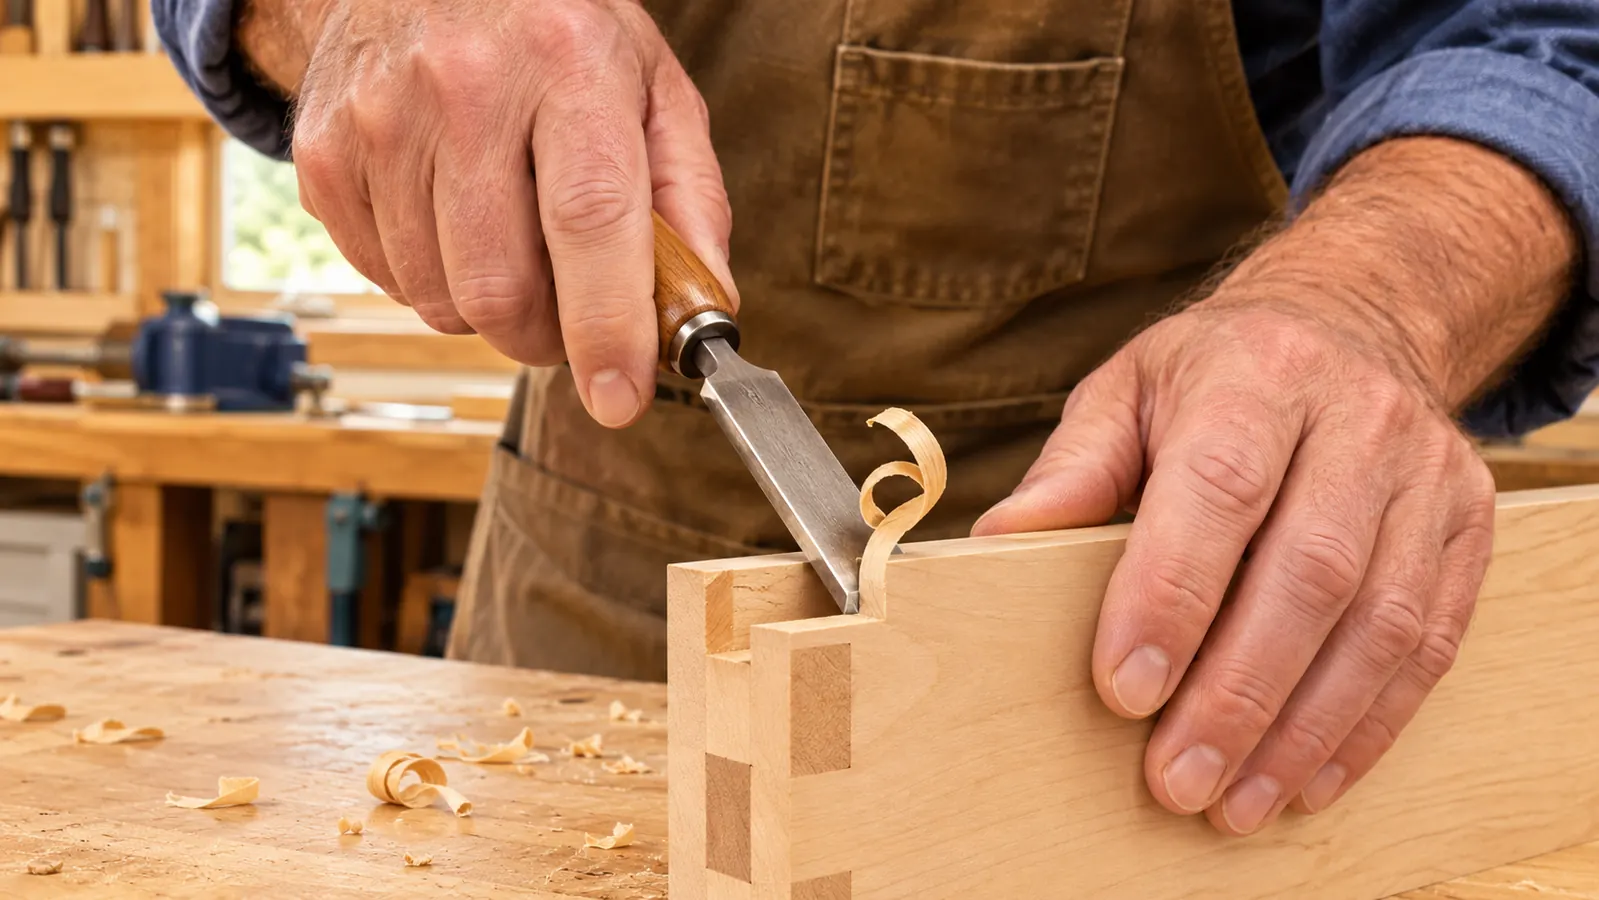
This is the step where the set earns its keep. I use the half inch for dovetail walls, the quarter inch for the tails and the inside corners, and the three-quarter and one inch for hinge mortises and wider cleanup. Having all four in the same box means I stop making a small chisel do a big chisel's job, which is how edges get chipped.
Lay the flat back of the chisel on the surface, bevel up, and push with the palm of your hand rather than striking with a mallet. Let the back ride the wood and let the edge slice. Two or three light passes beat one heavy pass every single time, because a heavy pass takes the wall out of square before you notice and then you are correcting in the wrong direction. I work from the ends toward the middle of a socket and check the fit after every couple of passes.
The PVC handles are high impact and they will take a tap if a corner genuinely needs one, but paring is a hand operation. I learned that the hard way on a pine step stool that came out with a chisel shaped divot in one leg. The stool still works. I still see the divot every time I carry it into the kitchen.
Step 5: Protect the edge between projects
The blade guards and the case are not packaging. They are the reason the set is still usable. Mine lives in its own box in the top drawer under the bench, guards on, and after two years of weekend work the edges are still straight. When I skipped the guards for a week during a bookshelf build, I found a nick in the one inch blade that took ten minutes on the coarse stone to remove.
Two rules I hold to now. Never pry with a chisel, and never use one as a screwdriver. The CR-V steel will take a great deal of honest work, but it will not take being used as a lever. A chipped edge means back to the coarse stone and back to square one on the bevel.
Wipe the blades down when you finish for the day, keep the case out of damp, and touch up on the fine stone before a project rather than after it. Five minutes of maintenance buys hours of clean paring, and it is the difference between a set that lasts two years and one that lasts ten.
Where the Set Falls Short, Two Years In
This is not a perfect set and I would not describe it as one. The PVC handles are tough and comfortable in the hand, but they are light compared to a wooden handle, and if you do a lot of heavy mortising with a mallet you will feel the difference by the end of an afternoon. The factory edge needs real work out of the box. Plan on a flattening session before your first project, not after it. The fitted case is basic, and the hinge on mine is looser than it was in 2023.
The 25 degree bevel also wants attention more often in oak than in pine or poplar. That is not a fault of the steel so much as the nature of a general purpose angle. If most of your work is hard wood, you may eventually want a second set honed steeper, and that is a fair thing to want. For pine, poplar, oak in moderation and the plywood shop fixtures I build, this set has done everything I have asked of it.
What Else Helps
A sharp chisel is only part of the setup. A combination square that is actually square, a saw that cuts where you are looking, and a stone you keep wet will do more for your joints than a fifth chisel ever will. I check the IRWIN square against a known straight edge about once a month, because a square that has been dropped is a square that lies to you quietly for years. I also keep a scrap of pine on the bench and test a freshly honed edge on it before I take the chisel anywhere near a project.
Good light matters more than people admit. I clamped a cheap lamp over the bench and my paring improved before I changed a single tool, simply because I could finally see the knife line and the shaving curl. A bench hook or a hold-down helps too. If the work moves, the chisel digs, and that is true of a four dollar chisel and a forty dollar chisel alike.
The set I reach for on every paring job, two years in
Four widths from quarter inch to one inch, drop forged CR-V steel, a 25 degree bevel that holds, safety caps and a fitted case. If your current chisels came out of a discount bin, this is the upgrade that changes the work.
Amazon Check Today's Price on Amazon →